
If you are seeking for update your environment with an long-lasting and aesthetic surface, epoxy floors could be the excellent option. If you're considering epoxy flooring for garages for a smooth look or basement epoxy flooring to elevate the atmosphere in your underground retreat, DIY epoxy floors provide an incredible combination of beauty and functionality. Not just do they provide a gleaming finish, but they also endure heavy foot traffic, spills, plus general wear and tear, allowing them suitable across various applications.
A lot of homeowners are turning to epoxy flooring for their flexibility as well as easy upkeep. With suitable preparation and techniques, it is possible to achieve a perfect finish comparable to professionally installed solutions. This write-up, we will share valuable tips to assist you through the process, ensuring that your epoxy flooring efforts succeeds right from start until finish. Whether you are an experienced DIYer or if you're a newbie home improver, these tips will guide you to create gorgeous epoxy flooring to elevate the environment.
Selecting the Best Epoxy Flooring
When decide on epoxy flooring, the initial step is to grasp the different categories available on the market. There are essentially two classifications: 100 percent solid epoxy and water-based epoxy. Pure epoxy is famous for its long-lasting nature and sturdiness, making it an outstanding option for high-traffic areas such as workshops. Conversely, waterborne epoxy is easier to install and has reduced levels of VOCs, but it may not offer the same level of strength as its solid alternative.
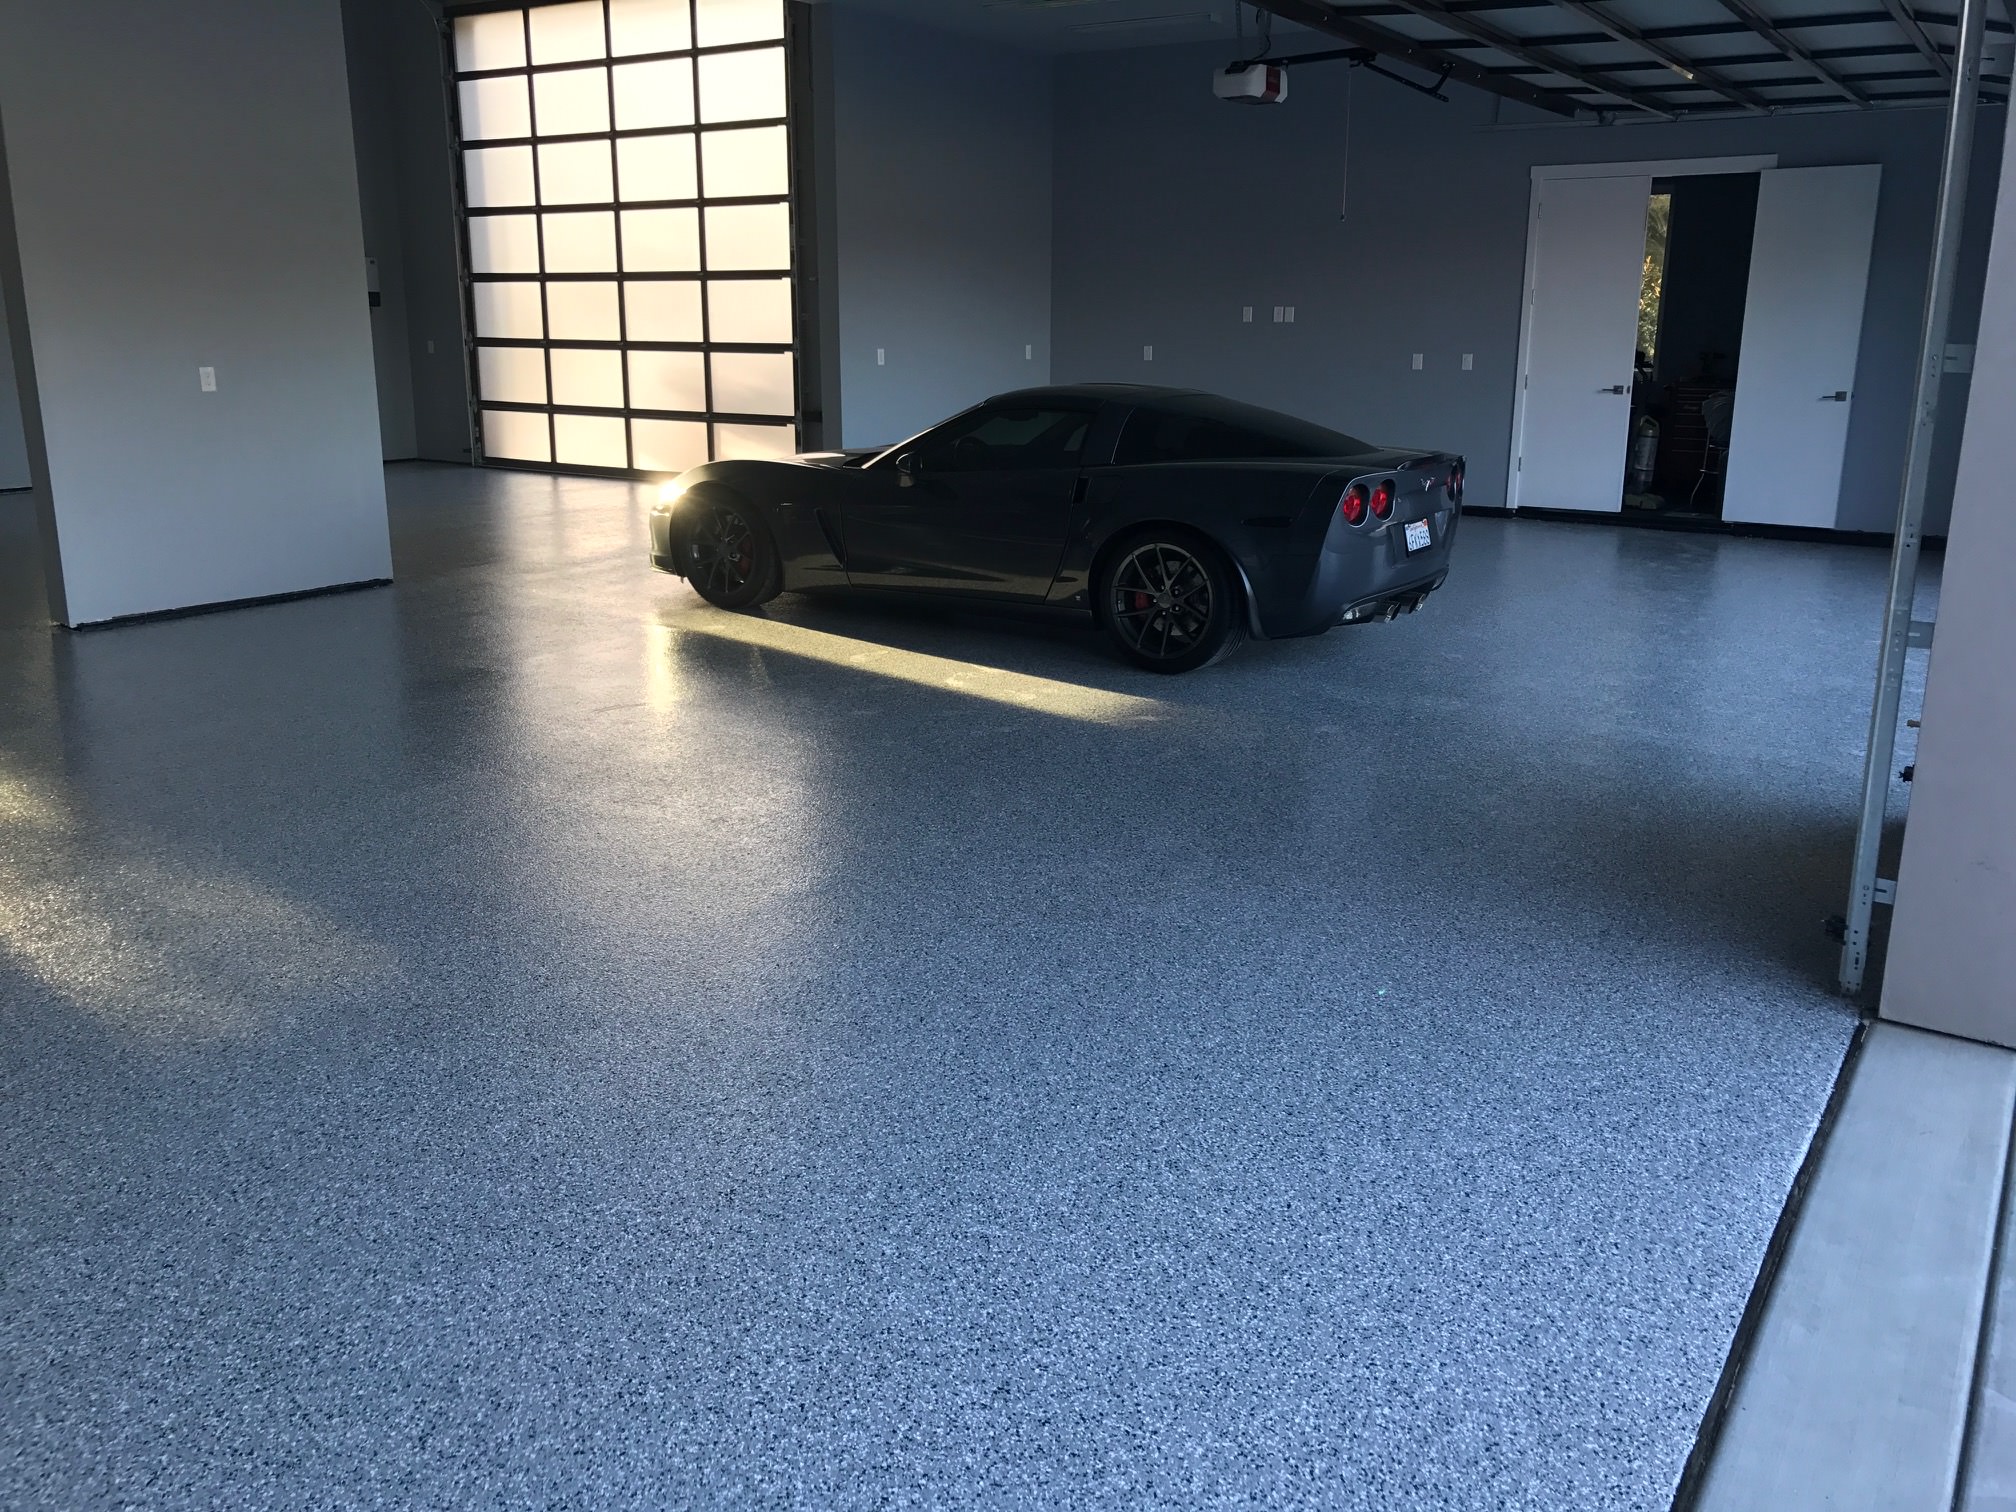
Consider the unique needs of your area when choosing your epoxy. For instance, if you are intending to coat a vehicle storage area floor, you will require a formulation that can withstand extreme wear and tear, heat, and maybe spills from vehicles. Conversely, if your project involves basement epoxy flooring, water resistance becomes paramount. Look for products uniquely designed for these environments to ensure long-lasting results.
Another important factor to reflect on is the appearance of the epoxy. Epoxy flooring comes in various hues and textures, allowing you to personalize the look of your environment. You could choose a lustrous finish for a modern appearance or choose a decorative flake system to incorporate dimension and richness. Consider your design preferences in conjunction with the functional demands to find an epoxy that meets both your visual and practical needs.
Surface Preparation
Correct substrate preparation is essential for attaining a smooth epoxy flooring result. Prior to applying any kind of epoxy resin, the area must be clean, dry, and clear of any contaminants such as oil, grease, or dirt. Begin by thoroughly cleaning the area with a degreaser and a stiff brush. For garage space floor epoxy, it’s particularly crucial to get rid of any marks and residues, as these can affect adhesion and cause peeling or bubbling.
Afterward, take into account the surface profile of the substrate. If you are placing the resin over a level cement floor, it may be essential to abrade the area to create a stronger bond. This can be done with a sander or sandpaper. For cellar epoxy flooring, ensure that there are no fissures or holes; any imperfections should be patched with a concrete patching compound and permitted to harden fully before proceeding.
Lastly, allow the area to set completely after cleaning and abrading. Humidity can prevent the resin from bonding effectively, leading to an uneven finish. It is recommended to conduct a moisture test, especially in basements, to ensure that the area is properly ready for the epoxy application. By following these steps will help ensure a long-lasting and attractive epoxy surface.
Application Techniques
As you putting down epoxy coatings, proper preparation is essential. Start by making sure that the area is clean, dry, and free of any debris. This might involve brooming, vacuuming, and potentially applying a cleaning solution for garage spaces or basements where leaks may have taken place. After cleaning, inspect the floor for flaws or blemishes that require repairs before the epoxy can be applied. A smooth, level surface enables improved adhesion and a more attractive finish.
Following this, consider the technique you will use. Rollers and scrapers are popular tools for spreading epoxy, with paint rollers providing a consistent finish and scrapers helping to spread over larger areas quickly. If you're working in small spaces, a painting brush can assist in reach corners and edges with precision. It is advisable to divide the work into sections and keep a moist edge to avoid lap marks, ensuring a consistent appearance throughout the entire area. Always follow the manufacturer’s guidelines for mixing and applying the epoxy.
In conclusion, whether for epoxy garage floors or epoxy basement floors, proper timing is essential. Establish the ideal temperature and humidity levels for application to prevent issues such as bubbling or inadequate curing. After applying Epoxy flooring special offers, , give it ample time to cure fully before using it or placing furniture back in the area. Taking your time will lead to a sleek and durable finish that enhances the overall look of your flooring.
Curing and Finishing
Hardening is a critical step in the procedure of applying epoxy flooring. It refers to the chemical process that occurs as the compound hardens and cures. Generally, the hardening time can vary based on the type used, surrounding factors, and the depth of the application. It's crucial to adhere to the producer's instructions regarding hardening periods to ensure a correct finish. Be mindful of heat and moisture, as these elements can impact the curing procedure significantly.
Once the material has hardened to its suggested hardness, it's time for the finishing touches. Inspect the area for any flaws or bubbles that may have appeared during the application. Lightly sanding the surface with fine-grit sandpaper can help smooth out any flaws. After sanding, clean the surface thoroughly to clear away dust and debris before putting on a top coat, if needed. This step can improve durability and add a shiny finish.
Ultimately, after sanding and cleaning, it’s time to put on a sealer or finish if you wish to enhance the appearance of your epoxy floors. A clear resin top coat can provide an additional layer of protection against wear and tear, making it perfect for busy areas such as epoxy in garages and basements. Ensure that the previous coat has completely cured before adding additional finishes, as this will stop the formation of blemishes and maintain the quality of your freshly applied epoxy surface.
Care Tips
To ensure your epoxy flooring stays in pristine condition, regular cleaning is essential. Garage floor makeover, of sweeping or vacuuming the surface to remove dust and debris will help maintain its luster. For tougher stains or spills, use a damp mop with a mild pH-balanced cleaner. Avoid using harsh chemicals or abrasive scrubbers, as these can damage the epoxy surface.
Inspect your garage floor epoxy frequently for indications of wear or damage, especially in high-traffic areas. If you see any scratches or chips, addressing these promptly can prevent further deterioration. Consider applying a fresh topcoat every few years to keep the surface appearing fresh and vibrant, especially in a garage or basement setting where wear and tear may be more pronounced.
Protecting your epoxy floors from heavy impacts and sharp objects will also contribute to their longevity. Consider placing mats in areas where heavy items are routinely shifted, and be cautious when using tools or equipment. By taking these simple precautions, you can enjoy the beauty and durability of your cellar epoxy flooring for years to come.